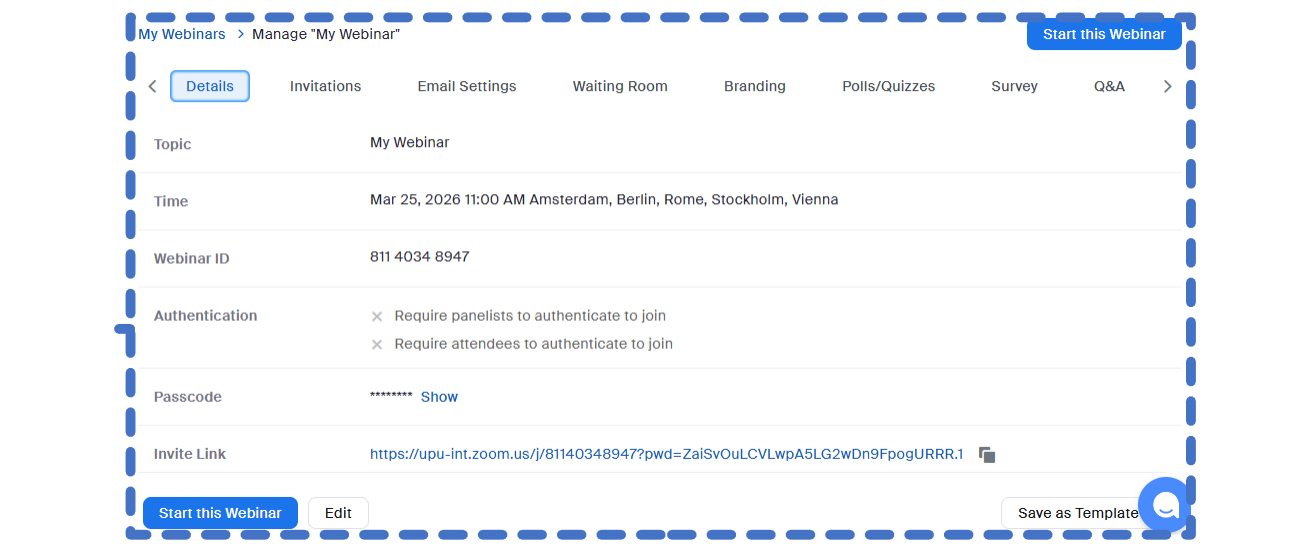
Once you have scheduled your webinar, the following tabs appear at the top of the page, allowing you to complete the setup.
 Enlarge screenshot
The Details tab provides a summary of your session (topic, time and link). You can edit the basic settings here if necessary. You will also find the Registration Link the public link to share with participants so that they can register for your session.
 Enlarge screenshot
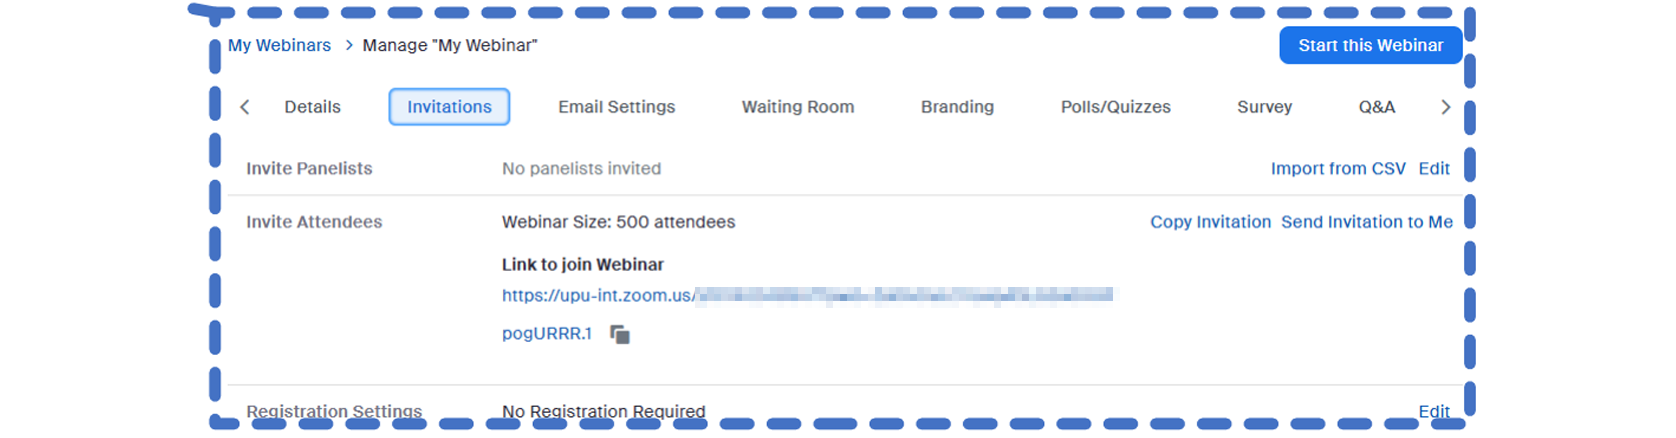
The Invitations tab is the most important tab. It allows you to:
- Add and invite panellists button. Once they have been added, Zoom will automatically email each panellist a unique, personal link to join the session with permission to speak and use their camera.
- Manage registration approvals.
 Agrandir la capture
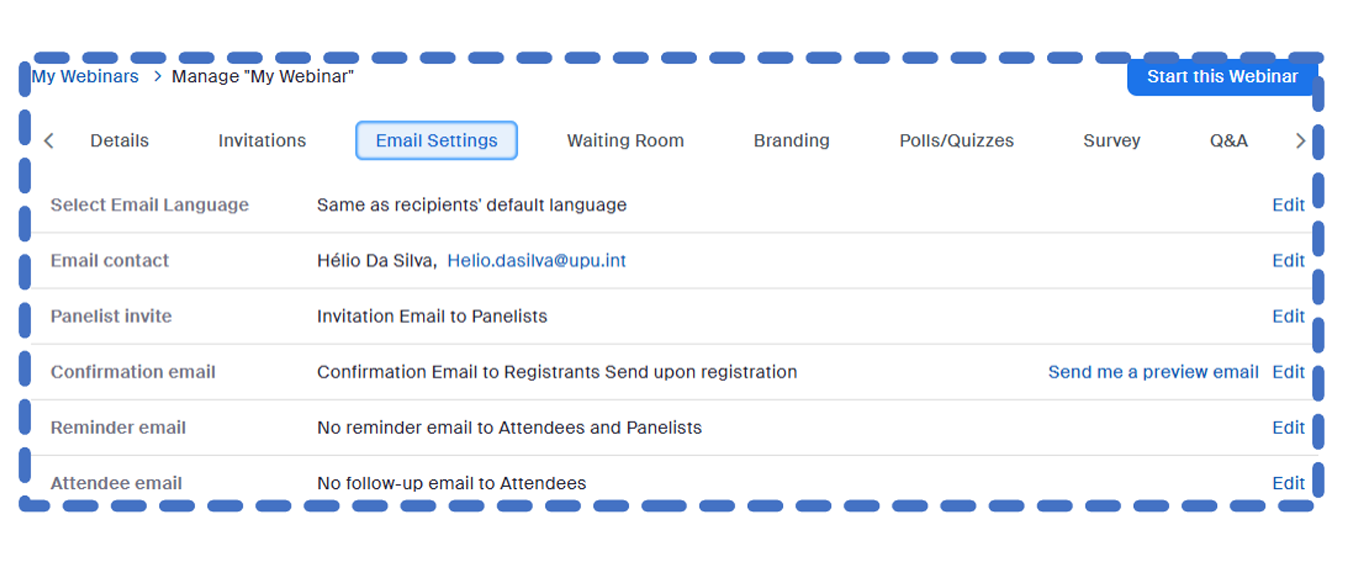
Use the Email Settings tab to customize the confirmation email sent to registrants or the reminder email sent before the session.
 Enlarge screenshot
- Waiting Room: Customize the message attendees see before you start broadcasting.
- Branding: Add the UPU logo or a custom banner to the registration page.
- Survey: Set up a feedback questionnaire that will automatically appear for attendees at the end of the webinar.
- Polls/Quizzes: Prepare interactive questions in advance.
- Q&A: Specify whether attendees can ask questions anonymously or view other attendees’ questions.